A common misconception about window cleaning is that it’s as simple as spraying some glass cleaner and wiping it off with a paper towel. While this may work for some windows that need frequent cleaning, it often leads to unsatisfactory results, leaving behind a cloudy haze that’s especially noticeable in direct sunlight. Here are seven techniques to help you achieve a streak-free, professional results at home by doing it yourself.
To get started, you’ll need a few basic tools and supplies, all of which can be easily found at your local hardware store, like Home Depot:
- Dawn Platinum dish soap
- A T-bar mop (also known as a strip washer or window scrubber)
- A squeegee from a reputable brand such as Unger or Ettore (the rubber must be straight and pristine)
- A bucket for dipping the mop
- Some “0000” grade steel wool (optional)
- Clean rags
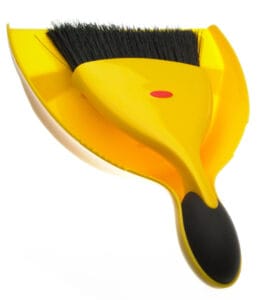
- A counter brush or broom
- A quality glass scraper razor with a comfortable handle (optional)
Often the best window cleaning tools are the simplest. Why Dawn dish soap, you might ask? Well, it turns out that the cleaning and shining properties in Dawn that allows it to clean your dishes and glassware so well are ideal for cleaning your windows too! Plus, it enables your squeegee to glide over your glass much smoother than most other detergents. It’s the best and most economical window cleaning agent trusted by professional window cleaners around the world.
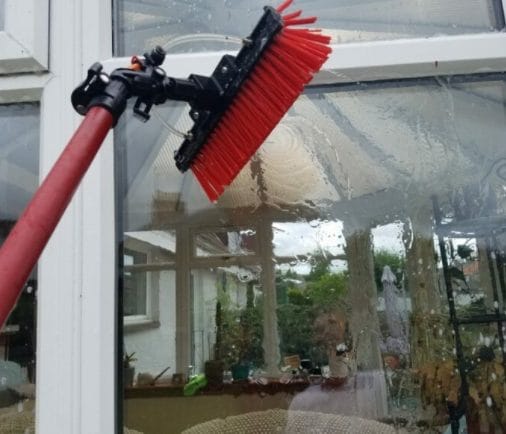
Step 1: Brush off the dust and cobwebs from the frame and sills
If the window’s frames and sills are laden with dust and cobwebs, use your broom or brush to brush off the dirt. This will prevent your mop and rags from getting too dirty and transferring the dirt onto more windows. If the window casing is really dirty, it may be wise to pre-clean it using a separate rag soaked in warm soapy water.
Step 2: Soap-up the windows
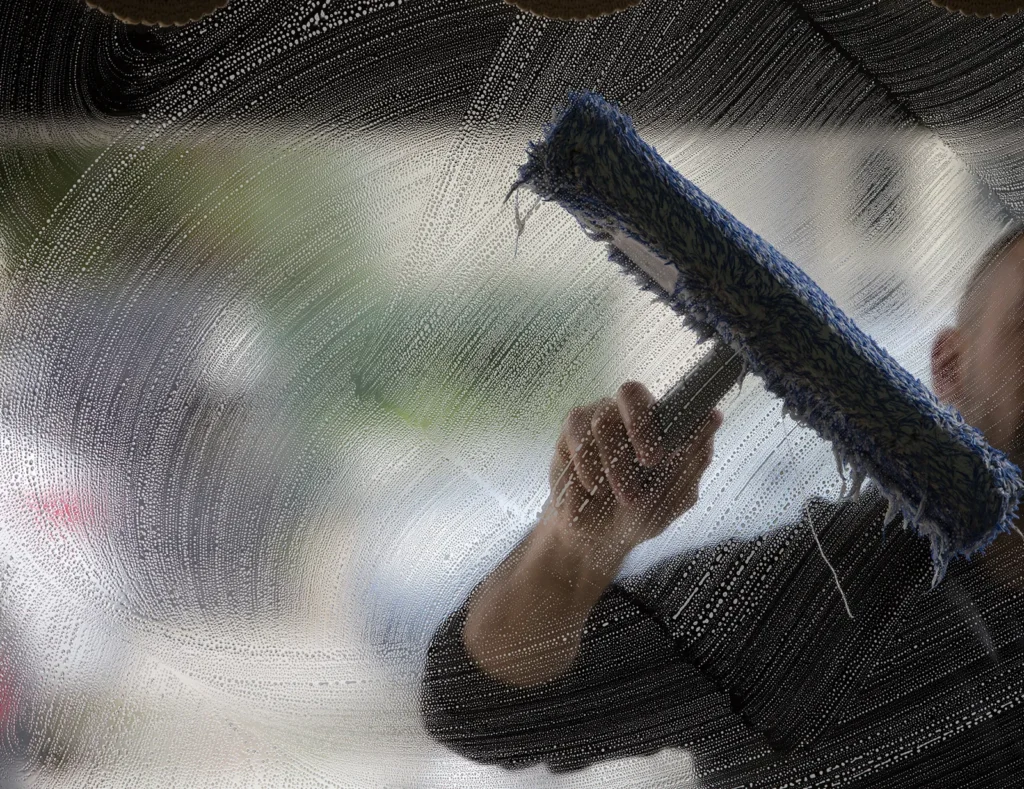
Fill your bucket with enough warm water to fully submerge your T-bar mop, then add a squeeze of Dawn dish soap—about 1 to 2 tablespoons per gallon of water—to create a soapy solution. Stir the mixture thoroughly using your mop to ensure even distribution. Once the mop is soaked, gently squeeze off any excess water to prevent dripping and keep your cleaning process neat and efficient.
With your soapy mop, evenly coat the window with the soapy water, ensuring full coverage. If you plan to use the abrasives in the next step, a light application is enough—no need to scrub too hard. For an extra polished finish, use the edges of your mop to work the soap into the window frames and sills, helping to remove built-up grime and leaving everything looking spotless.
If you don’t have a bucket that fits your T-bar mop, you can simply wet the mop under running water and apply a line of Dawn dish soap directly onto it. For extra lather, you can rub the soap into the mop by hand, but this step isn’t necessary—it will distribute evenly as you start cleaning. This quick alternative ensures you still get a soapy, effective clean without needing a large bucket.
Step 3: Apply the Gentle Abrasive treatment
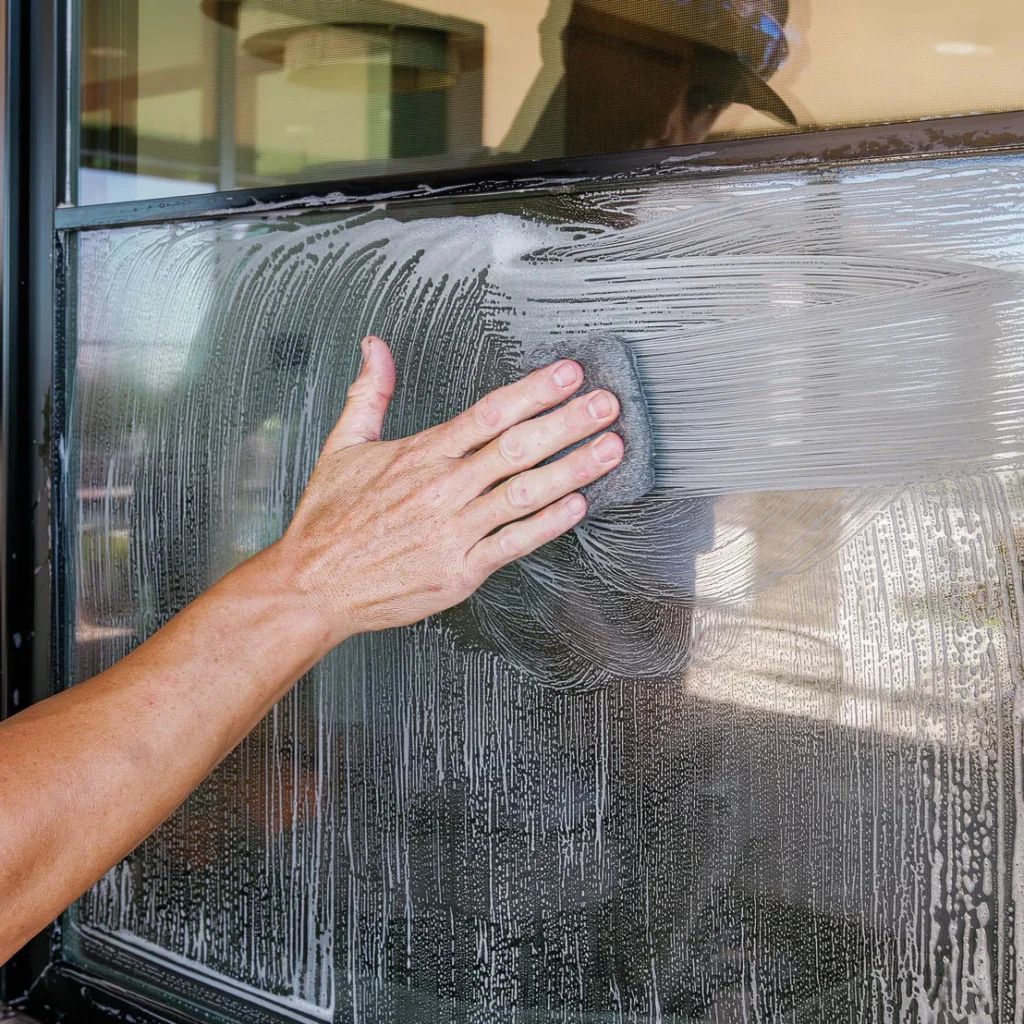
While this step is optional, it is recommended if your windows have not been cleaned in a while or if you notice stubborn dirt that is difficult to remove with a standard scrubber. In such cases, incorporating this step can lead to a more effective clean.
The 0000-grade steel wool, listed among your supplies, is an essential tool in a professional window cleaner’s kit. This ultra-fine, non-scratching abrasive effectively removes stubborn dirt, paint overspray, animal droppings, and other impurities without damaging the glass. To use it, apply light, uniform rubbing motions across the entire surface, ensuring even coverage. This step helps eliminate fine debris that may not be visible to the naked eye, leaving your windows crystal clear.
Another way to professionally scrub your glass clean without leaving any scratches is to use a scrubbing pad made from recycled walnut fibers, available at some professional cleaning supply stores.
Step 4: Detail the frames and edges of the glass
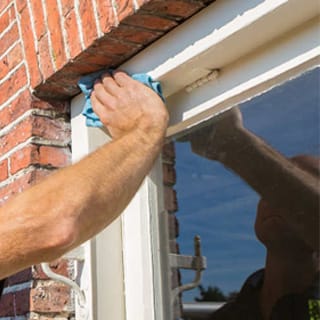
Before using the squeegee to remove the soapy water, take a moment to lightly detail the frames and edges of the glass. Focus on the left, right, and top edges—there’s no need to wipe the bottom frame or sill at this stage. This quick step helps reduce streaking and minimizes the need for extra rag detailing after squeegeeing. In most cases, a single swipe with a rag wrapped around one or two fingers is enough to catch excess water and soap, ensuring a clean, professional finish.
You’ll want to avoid touching the glass with a rag after squeegeeing, as it can leave behind marks that could have been prevented. While this may seem like a small detail, it’s one of the key techniques professional window cleaners use to achieve a flawless, streak-free shine.
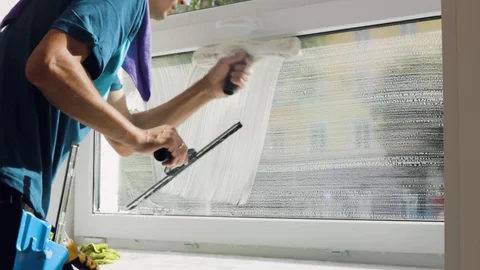
Step 5: Time to squeegee-off the soap!
This is the moment everyone envisions when they think of professional window cleaning—the satisfying swipe of the squeegee revealing crystal-clear glass beneath a layer of soapy water. There’s something almost mesmerizing about watching the dirt and grime disappear in an instant, leaving behind a flawless, streak-free shine. It’s no wonder this step is so visually satisfying!
Now it’s your turn to give it a try! There’s no single “right” way to squeegee—simple, overlapping straight pulls in any direction will still give you a great result. However, if you want to clean like a pro, consider mastering the “S” technique—a go-to method for professional window cleaners. This technique allows the squeegee to stay in continuous contact with the glass, efficiently clearing water in one smooth motion without leaving streaks.
Check out this video tutorial to see the “S” technique in action:
Step 6: Clean the soap off at the bottom of the window
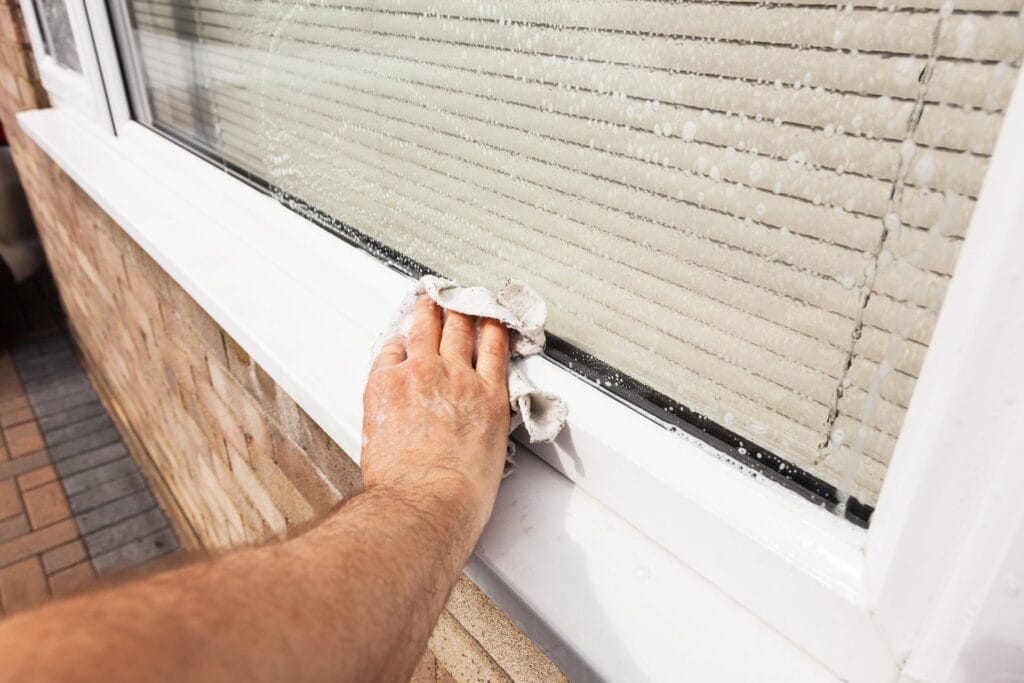
This step is pretty straightforward. After squeegeeing off the soapy water, you’ll likely have a small puddle left on the bottom frame and sill. Simply wipe it away with a rag, being careful not to leave any streaks along the bottom edge of the glass. For outdoor windows with the right type of sill, you may even be able to squeegee the soap off the sill directly, making cleanup even easier.
Step 7: Use additional glass cleaning techniques if necessary
Sometimes, after completing Step 6, you might notice that the window still isn’t as clean as you’d like. Before re-soaping the entire window, consider trying these techniques to tackle stubborn spots more efficiently:
- Targeted Abrasion: Use the 0000-grade steel wool or a quality glass scraper blade (for non-tempered, non-tinted glass) to remove small spots of grime, paint overspray, or hard water stains. Light touch-ups with these tools can be done without soap.
- Spot Cleaning: Instead of re-soaping the entire window, apply a small amount of soapy water directly to problem areas and scrub with the tip of the mop.
- Check the Rubber: If streaks are the issue, check if your squeegee blade is straight and smooth. Wipe it down and try another pass with light, even pressure.
- Frame & Edge Detailing: Sometimes, residual dirt from the frame or sill can leave streaks. Give those areas a quick wipe before re-cleaning the glass.
After applying these targeted techniques, you can quickly re-soap and re-squeegee the window to achieve a flawless, professional finish. A second pass ensures any remaining streaks, spots, or residue are completely removed, leaving your glass crystal clear. With a little extra attention to detail, your windows will look as if they were cleaned by a seasoned pro!
Live in Metro Vancouver and want spotless windows without the hassle? Let us handle it for you! Based in South Surrey, we’re available 24/7 to answer your inquiries. Contact us today for a free quote and experience a streak-free shine the professional way!